Whether you want to grow fresh organic herbs on your kitchen windowsill, showcase vibrant seasonal flowers on your front porch, or build raised vegetable beds in your backyard, a DIY wooden planter box is one of the most practical and satisfying projects you can make.
Woodworking for the garden is exceptionally forgiving for beginners. Minor imperfections only enhance the rustic charm of wooden planters, making them an ideal starting project to build confidence with basic power tools and simple joinery.
In this detailed step-by-step guide, we will explore the best rot-resistant wood choices, essential drainage techniques, and a complete assembly guide to help you craft durable, beautiful wooden planter boxes that will last for seasons to come.
[IMAGE 1: A handcrafted wooden planter box filled with colorful flowers sitting on a sunny porch.]
Alt text: Handcrafted DIY wooden planter box with vibrant flowers on a outdoor patio
Why Build Your Own Wooden Planter Boxes?
Store-bought plastic or resin planters often crack after a single winter, while pre-made wooden garden beds sold at nurseries can be surprisingly flimsy and overpriced. Building your own offers several advantages:
-
Custom Sizing: You can tailor the length, depth, and height to match your specific space, whether it is a long window box, a patio trough, or a deep vegetable planter.
-
Superior Longevity: By choosing naturally rot-resistant timber and proper exterior fasteners, your handmade planter will outlast commercial alternatives.
-
Cost-Effective: You can easily build multiple planter boxes from a few standard cedar or pressure-treated boards.
-
Healthier Plants: Wood provides better root insulation against extreme heat and cold compared to thin plastic or metal containers.
The Best Types of Wood for Outdoor Planters
Because planter boxes constantly hold moist soil and are exposed to rain and sunlight, selecting the right lumber is the most critical decision:
-
Western Red Cedar: The gold standard for garden projects. Cedar contains natural oils that resist rot, decay, and insect damage without synthetic chemical treatments.
-
Redwood: Highly durable and visually stunning with rich reddish tones. Like cedar, it is naturally weather-resistant.
-
White Oak: A dense, extremely strong hardwood that resists water exceptionally well (commonly used in wine barrels and boat building).
-
Untreated Pine or Fir (Lined): Budget-friendly options, but they must be sealed or lined with landscape fabric to prevent rapid decay when in direct contact with damp soil.
⚠️ Avoid: Older pressure-treated lumber that may contain toxic chemicals if you intend to grow edible herbs or vegetables. Stick to untreated cedar, redwood, or food-safe sealed woods for vegetable gardens.
💡 Tired of Inaccurate Measurements & Frustrating Guesswork?
Trying to build garden furniture or planters using vague free guides often leads to uneven boards, poor drainage planning, and wasted lumber.
If you want step-by-step blueprints, exact material lists, and clear 3D diagrams for over 16,000 woodworking projects—including planter boxes, raised garden beds, potting benches, and outdoor arbors—check out TedsWoodworking — Get Instant Access to 16,000 Plans Here. Build every garden project with 100% confidence!
Key Design Principles for Healthy Plants
To ensure your plants thrive inside a wooden planter, keep these three essential rules in mind:
1. Adequate Drainage
Roots will rot if water collects at the bottom of the box. Always drill at least four to six ½-inch drainage holes in the bottom panel and cover them with weed barrier fabric or wire mesh to allow water to escape without losing soil.
2. Soil Depth Considerations
-
Shallow (6 to 8 inches): Perfect for leafy greens, radishes, succulents, and small annual flowers.
-
Medium (10 to 12 inches): Great for herbs, peppers, tomatoes, and perennial flowering plants.
-
Deep (16+ inches): Best for root vegetables, large shrubs, or dwarf fruit bushes.
3. Soil Insulation & Liners
Line the interior walls of your wooden planter box with breathable landscape fabric. This keeps soil intact, protects the wood interior, and promotes healthy airflow to plant roots.
[IMAGE 2: Woodworker drilling drainage holes in the wooden bottom of a planter box in a workshop.]
Alt text: Woodworker drilling drainage holes in a custom DIY wooden planter box
Step-by-Step Instructions: Building a Classic Rectangular Planter Box
Here is a simple, robust design for a 3-foot outdoor wooden planter using standard 1×6 or 2×6 cedar boards:
Step 1: Cut Your Lumber to Size
Measure twice and cut the following components on your miter saw:
-
Long Side Walls: 4 pieces at 36 inches
-
Short End Walls: 4 pieces at 12 inches
-
Bottom Panel: 2 to 3 pieces at 34.5 inches (slotted to fit inside)
-
Corner Posts: 4 pieces of 2×2 lumber at 11 inches
Step 2: Assemble the Side Panels
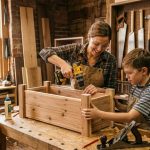
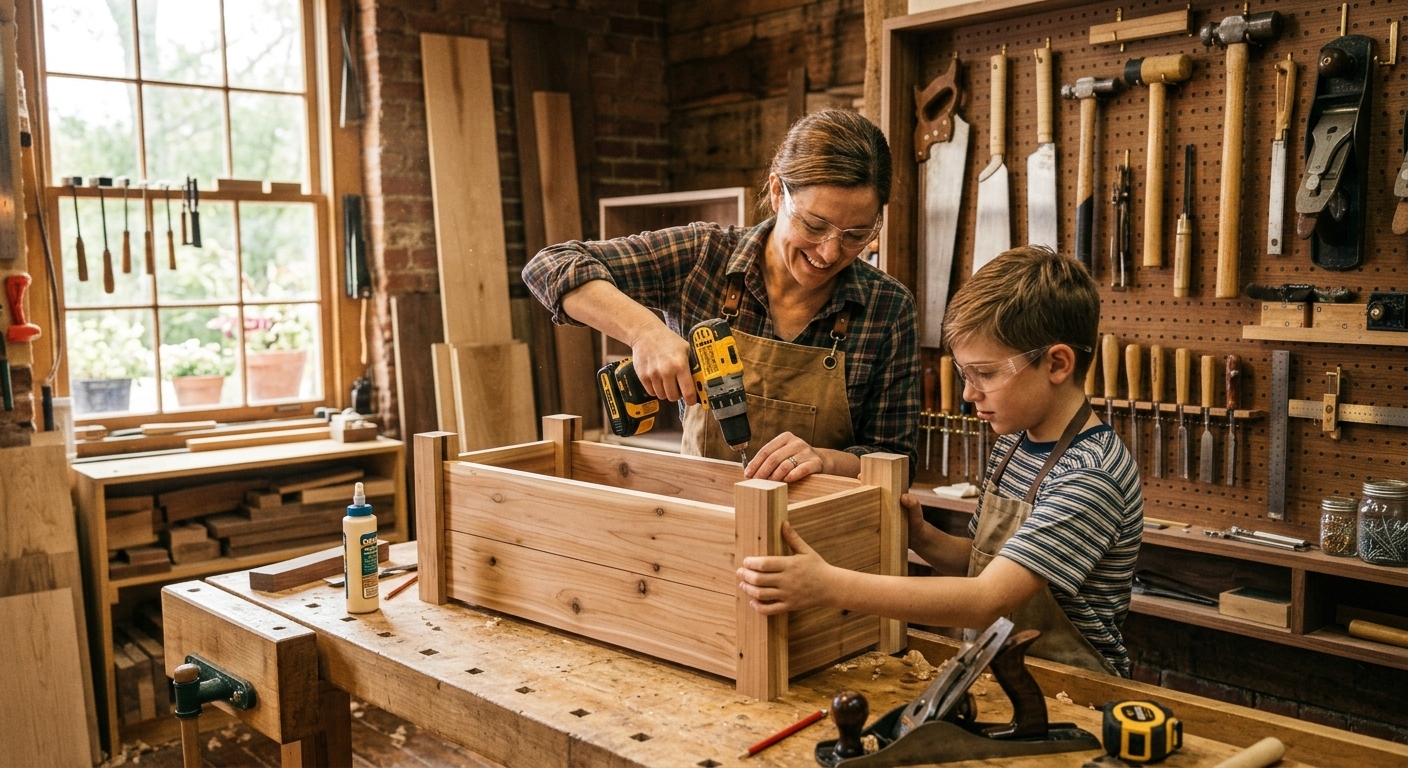
Lay two long side boards flat and join them using two 2×2 corner posts on the inside edges. Secure them with waterproof wood glue and 2-inch exterior-grade screws or pocket holes. Repeat for the opposite side wall.
Step 3: Attach the End Walls
Stand the two assembled side panels upright and attach the short end boards to the corner posts to form a complete 4-sided box structure. Use a speed square to ensure all four corners are perfectly square (90 degrees).
Step 4: Install the Slotted Bottom Floor
Place the bottom slats inside the box frame, resting them on cleats or secured directly through the lower frame. Leave small ⅛-inch gaps between bottom slats and drill several ½-inch drainage holes throughout the base.
Step 5: Sand & Finish the Exterior
Sand the exterior surfaces with 120-grit sandpaper to remove any sharp splinters or rough mill marks. Apply an eco-friendly, non-toxic outdoor oil or water-based exterior sealer to protect the wood from UV discoloration and moisture.
Step 6: Line and Plant
Staple porous landscape fabric along the inside walls and base. Fill the planter with a lightweight pot-culture potting mix (not heavy topsoil) and plant your favorite flowers, herbs, or vegetables!
🛠️ Unlock 16,000+ Easy-to-Follow Woodworking Plans Today!
Imagine having access to the world’s largest digital library of woodworking blueprints right in your workshop.
From beginner-friendly planter boxes and birdhouses to master-level dining tables and outdoor pergolas, TedsWoodworking provides full dimensional drawings, detailed cut lists, and step-by-step instructions.
Click Here to Download TedsWoodworking 16,000 Plans Package Now and start your next build effortlessly!
Summary Comparison Table: DIY Planter Ideas
| Planter Style | Skill Level | Best Wood Choice | Ideal Uses |
| Window Box Planter | Beginner | Cedar or Redwood | Herbs, trailing flowers, strawberries |
| Trough Deck Planter | Beginner | Cedar / Pressure-Treated | Patio borders, privacy screens |
| Tiered Vertical Planter | Intermediate | Cedar / White Oak | Small spaces, balcony vegetable gardens |
| Raised Garden Bed on Legs | Intermediate | Cedar 2x4s & 2x6s | Ergonomic gardening, pest control |
Final Thoughts: Enhance Your Outdoor Living Space
Building your own DIY wooden planter box is a quick, fun, and affordable weekend project that instantly improves the curb appeal and greenery of your home. With basic tools, a few sturdy boards, and reliable blueprints, you can fill your patio, porch, or garden with vibrant custom planters designed to last.
🚀 Ready to Transform Your Garden & Workshop?
Stop wasting time searching for incomplete plans online. Get instant access to over 16,000 complete woodworking guides with step-by-step instructions and clear material lists.
👉 Claim Your 16,000 Woodworking Plans & Instant Access Here and start building today!